Ever hit print and watch that perfectly crisp page slide out, looking exactly as you intended? It feels almost instantaneous, a little bit of everyday magic. But have you ever stopped to wonder how a laser printer pulls off that feat? It’s far more intricate and fascinating than just squirting ink onto paper.
While many of us are familiar with inkjet printers, laser printers operate on a completely different principle, one that involves light, static electricity, and a good dose of heat. Think of it less like painting and more like a sophisticated, electrophotographic process creating a dry, durable image.
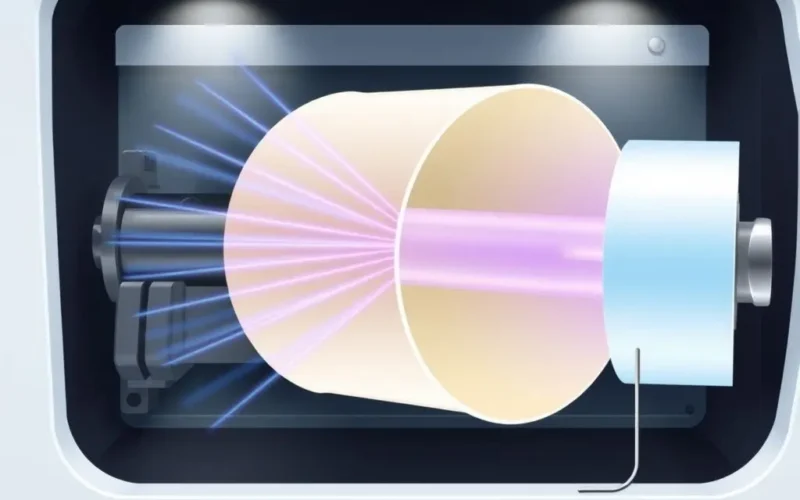
Before we dive deep into the fascinating stages, here’s a quick visual guide to the process:
Intrigued? Let’s peel back the layers and explore the journey your document takes from digital file to physical print.
Table of Contents
The Core Components: What Makes a Laser Printer Tick?
Understanding how laser printers work begins with knowing their key parts:
- The Photoreceptor Drum: This is the heart of the process, a cylindrical component usually coated with a photosensitive material (often selenium or, in modern printers, organic photoconductors). It’s highly sensitive to light and capable of holding an electrical charge.
- The Toner Cartridge: This isn’t liquid ink! Toner is a fine, dry powder made of plastic particles, carbon black, and often other coloring agents. These particles are designed to carry an electrostatic charge.
- The Laser: A precise light source used to ‘draw’ the image onto the drum. While called a laser, many modern printers use an array of LEDs (light-emitting diodes) which function similarly for this purpose.
- The Fuser Assembly: A set of heated rollers or sometimes a heated plate. Its job is to permanently bond the toner to the paper using heat and pressure.
- Primary Charge Roller/Corona Wire: Used to apply a uniform electrical charge to the photoreceptor drum.
- Developer Unit: Contains the toner and a magnetic roller (or similar mechanism) that attracts the toner particles to the drum.
- Transfer Roller: Used to pull the toner off the drum and onto the paper.
Now, let’s walk through the stages.
Step-by-Step: The Electrophotographic Process Unveiled
Laser printing follows a specific sequence of events, often called the electrophotographic process. It happens incredibly quickly!
Stage 1: Charging (Conditioning)
First, the photoreceptor drum is uniformly coated with a strong negative electrostatic charge. This is done by the primary charge roller or a corona wire. Think of it as preparing a blank canvas with a specific electrical potential.
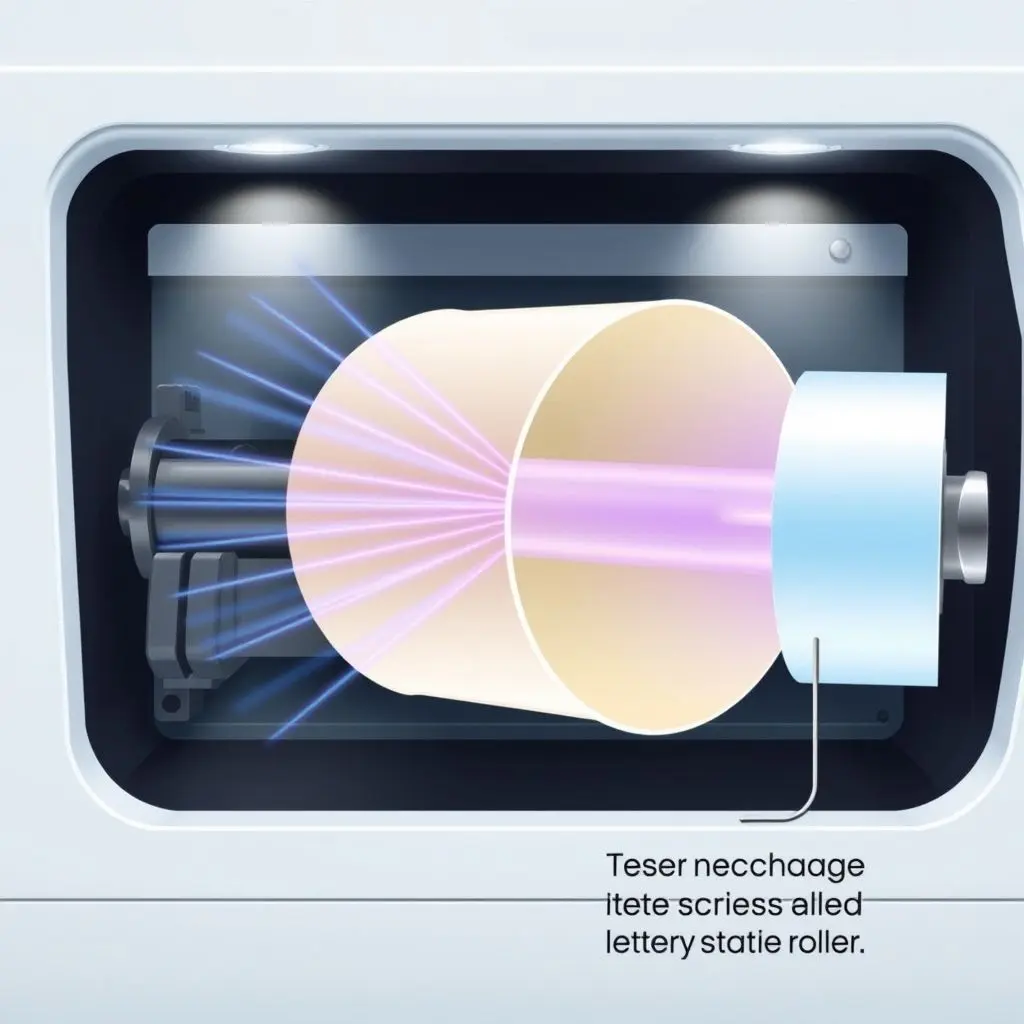
Image: The photoreceptor drum receives a uniform negative charge.
Stage 2: Exposure (Writing/Scanning)
This is where the ‘laser’ comes in. The laser beam (or LED array) is modulated and directed by mirrors and lenses to precisely scan across the surface of the spinning drum. Wherever the laser light hits the drum, the photosensitive coating’s electrical resistance changes, allowing the negative charge to dissipate into the drum’s core. This leaves behind a latent electrostatic image on the drum – areas that were hit by the laser now have little to no negative charge, while the untouched areas retain the full negative charge. This latent image is the digital representation of your document.
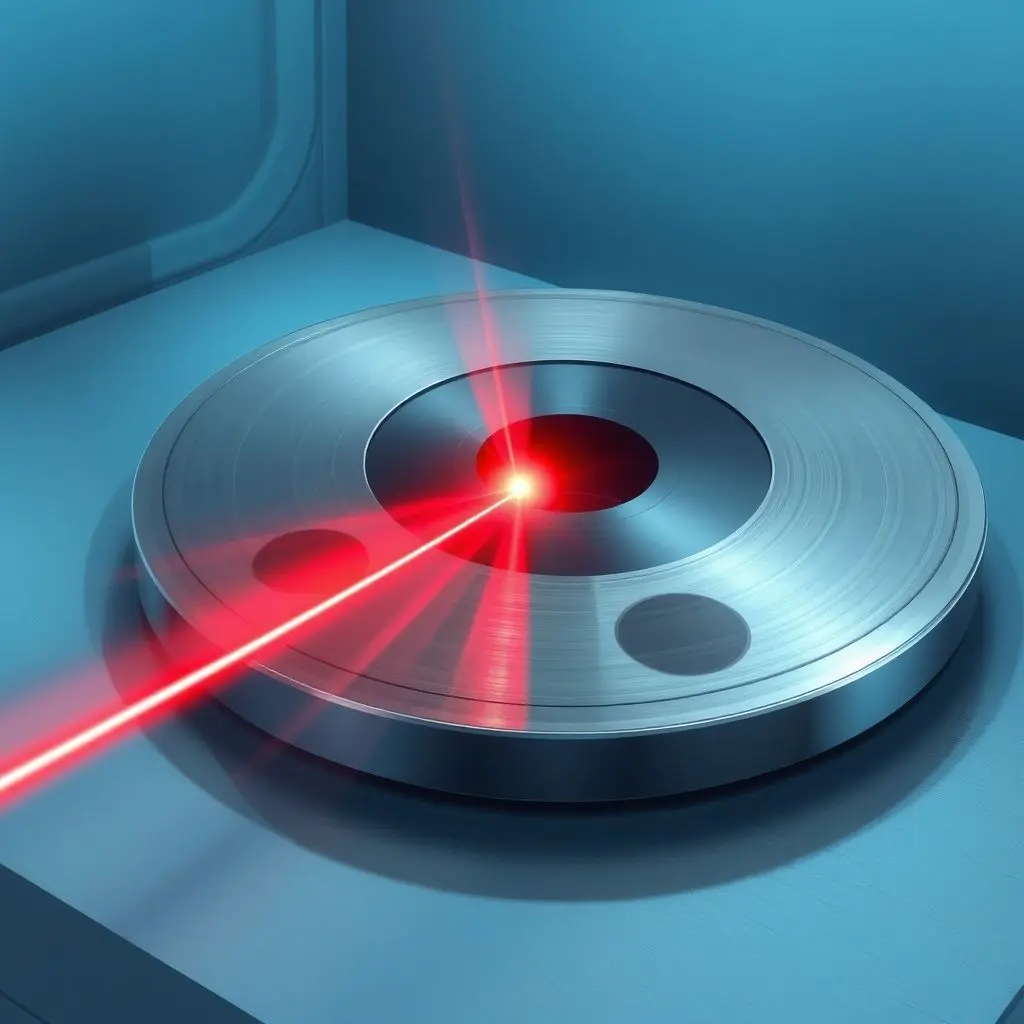
Image: A laser precisely discharges areas on the drum, creating a latent image.
Stage 3: Developing
Next, the drum comes into contact with the developer unit. The toner particles within the developer are given a negative charge, usually via tribocharging (friction). Since like charges repel and opposite charges attract, these negatively charged toner particles are repelled by the negatively charged areas of the drum (the background) but are attracted to the areas where the laser discharged the drum (the image areas). As the drum rotates, the toner sticks only to these areas, making the latent image visible.
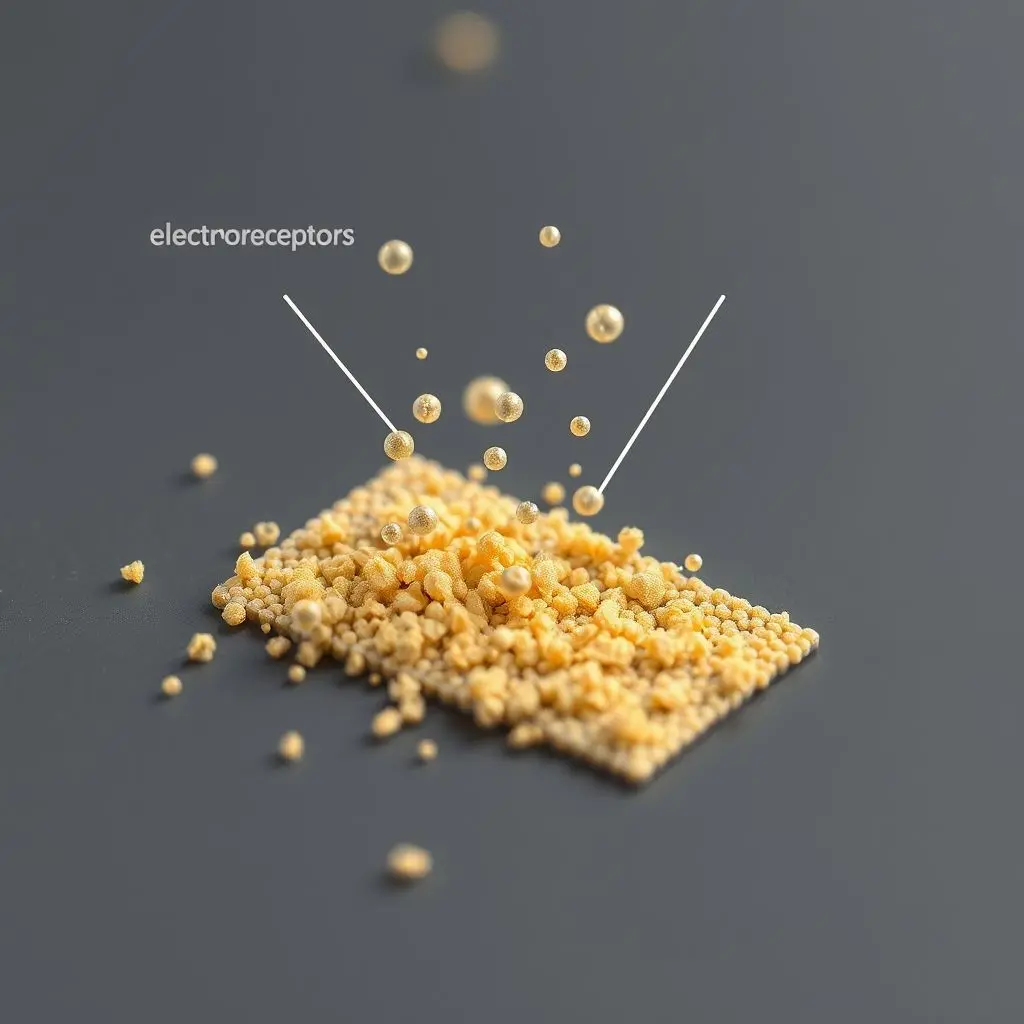
Image: Negatively charged toner adheres only to the discharged (image) areas on the drum.
Stage 4: Transferring
Paper is fed into the printer and passes between the photoreceptor drum and the transfer roller. The transfer roller applies a positive charge to the backside of the paper. This strong positive charge pulls the negatively charged toner particles off the drum and onto the paper. Because the paper’s charge is stronger than the attraction between the toner and the drum, the toner particles jump from the drum to the paper, forming the image on the page.
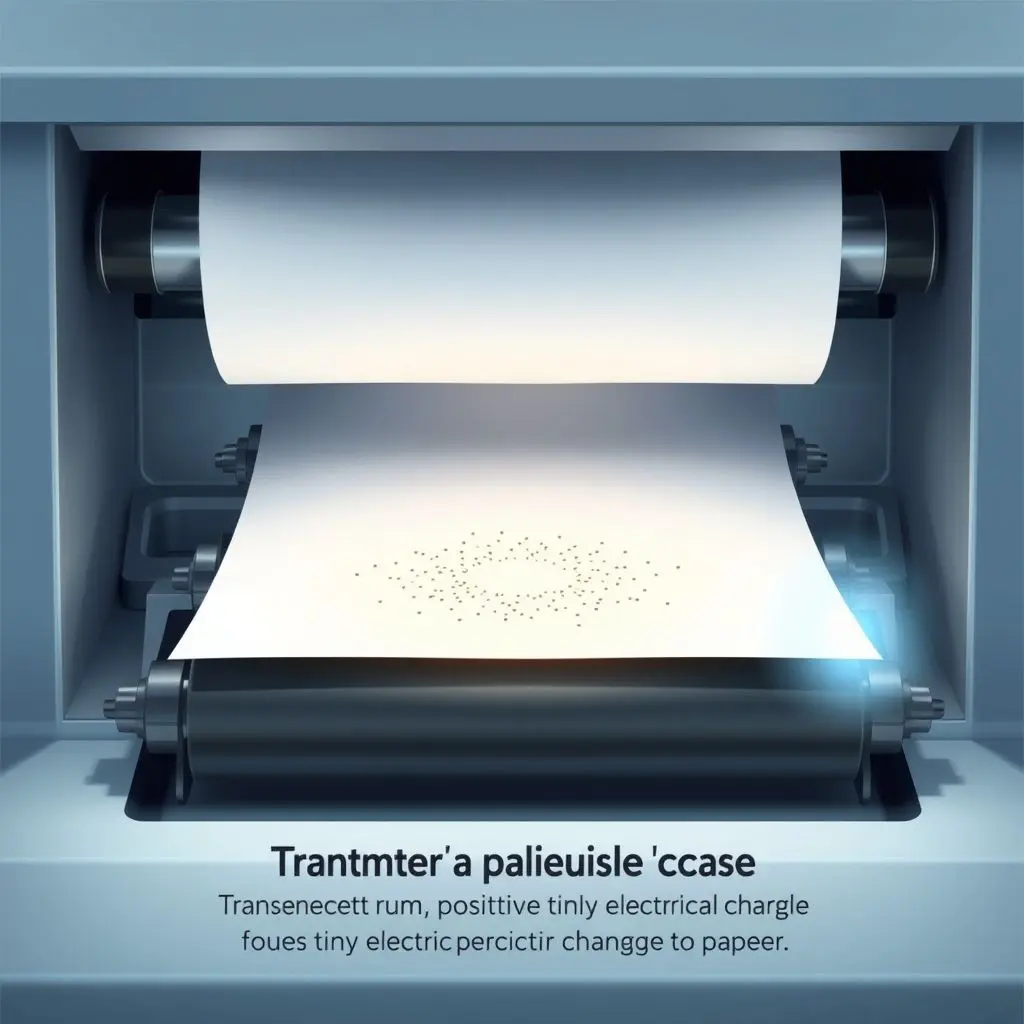
Image: A positive charge on the paper pulls the toner off the drum.
Stage 5: Fusing
The paper, now holding the loose toner image, travels to the fuser assembly. The fuser consists of two rollers: a heated roller and a pressure roller. As the paper passes through these rollers, the heat (reaching temperatures up to 200°C / 392°F!) melts the plastic toner particles, and the pressure presses them into the fibers of the paper. This melting and pressing action permanently bonds the toner to the page, preventing smudging and creating a durable, finished print. This is why pages coming out of a laser printer are often warm.

Image: The fuser’s heat and pressure permanently bond the toner to the paper.
Stage 6: Cleaning
After the toner has been transferred to the paper, any residual toner left on the drum must be removed before the next page is printed. A cleaning blade or brush scrapes off excess toner into a waste reservoir. The drum is then discharged by a lamp or roller, resetting its surface for the next cycle. This ensures a clean start for each subsequent print.
And boom! Just like that, your digital file has been transformed into a physical document through a rapid sequence of electrical charges, light pulses, toner attraction, and thermal bonding.
Why Laser? The Advantages
This complex process offers several benefits:
- Speed: Once the first page is processed, subsequent pages can be printed very quickly as the drum rotates continuously. Laser printers are generally faster for high-volume printing than inkjets.
- Print Quality: Laser printers produce sharp text and fine lines, making them excellent for documents with a lot of text and detailed graphics.
- Cost Per Page: While the initial cost of a laser printer and toner cartridges can be higher, toner cartridges often last much longer than ink cartridges, resulting in a lower cost per page over time, especially for black and white printing.
- Durability: Because the toner is fused onto the paper fibers, laser prints are generally more resistant to water and smudging compared to inkjet prints.
Keeping Your Laser Printer Happy
Laser printers are generally robust, but proper care of toner cartridges and understanding the life cycle of the drum (which may be separate from the toner cartridge in some models) is key to consistent quality and longevity. Avoid touching the drum surface as fingerprints can affect print quality.
Frequently Asked Questions
Here are some common questions about laser printers:
- Is toner harmful? Toner powder should be handled with care. While not acutely toxic, it’s a fine particulate that can irritate respiratory passages if inhaled in large quantities. Always follow manufacturer guidelines when replacing cartridges.
- Why do laser prints come out warm? This is due to the fuser assembly heating the toner and paper to bond the toner permanently.
- How long does a toner cartridge last? This varies greatly depending on the printer model and the coverage of your prints. Manufacturers usually provide an estimated page yield based on standard coverage (e.g., 5% coverage).
- Do laser printers print in color? Yes, color laser printers exist. They use four different toner cartridges (Black, Cyan, Magenta, Yellow) and essentially repeat the electrophotographic process for each color, layering them on the paper to create a full-color image before the final fusing step.
- What’s the difference between toner and ink? Toner is a dry, fine powder (mostly plastic particles) used in laser printers. Ink is a liquid (dye or pigment-based) used in inkjet printers. They require entirely different printing mechanisms.
More Than Just a Print Job
The next time you retrieve a document from a laser printer, take a moment to appreciate the complex choreography of light, electricity, and heat that occurred in a matter of seconds to make it happen. It’s a testament to clever engineering, turning digital data into a physical, permanent record right before your eyes.
If learning about this process sparked your curiosity like that laser beam on the drum, maybe give this post a share! And for more insights into the tech that powers our world, keep exploring techotv.com.
Related posts:
 Unlocking the Mystery: How Inkjet Printers Paint Pictures, One Tiny Drop at a Time
 How 3D Printers Build Objects: A Layer-by-Layer Look into Tech Magic
 Ion Thrusters: Silently Pushing Towards the Stars (How They Work)
 Target Facebook Page’s posts to specific gender, age, location