Outlook.com’s neat email interface is handy, useful and very productive, no doubt. But you can customize the sleek look to make it more useful by enabling the reading pane. After enabling the reading pane, your inbox gets divided into two pane – horizontal or vertical section (as you choose). Top or left section would contain all your inbox messages list where as Right or bottom pane would show you the content of selected email message. This type of inbox view settings is pretty useful if you’ve a monitor or laptop with large resolution as it helps you to take advantage of large screen. It also makes navigating between messages very easy and faster as it minimizes the level of interaction required to sort and read useful emails saving you time in case you receive lots of emails daily.
How to enable Reading Pane in Outlook.com inbox view
- Visit outlook.com website and login to your outlook account.
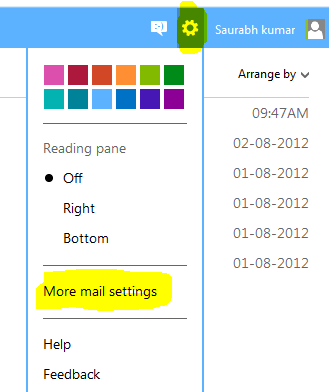
- Click on the settings button located on the top right and select More Mail Settings.
- In the next screen, Under Reading Email section, choose Reading Pane option.

- Now, Under – Where do you want the Reading Pane to Appear ? – You’ll have to select either right or bottom (Off is selected by Default ). Click on the image check it in large size.

- Choose Right if your computer screen has Full HD resolution i.e. 1920*1080 to take advantage of the horizontal space. ‘Right’ is the most preferred or advised position for reading pane.
- Chose Bottom if your computer screen has low resolution as this option would be more suitable for viewing mails. This is just my recommendation. You may choose either Right or Bottom depending upon your personal choice and viewing comfort.
- Now Under – When you first open your inbox or another folder, set the reading pane to : Select Show the first message automatically. This is recommended.
- Done! Get back to inbox and enjoy the new email reading view and experience.
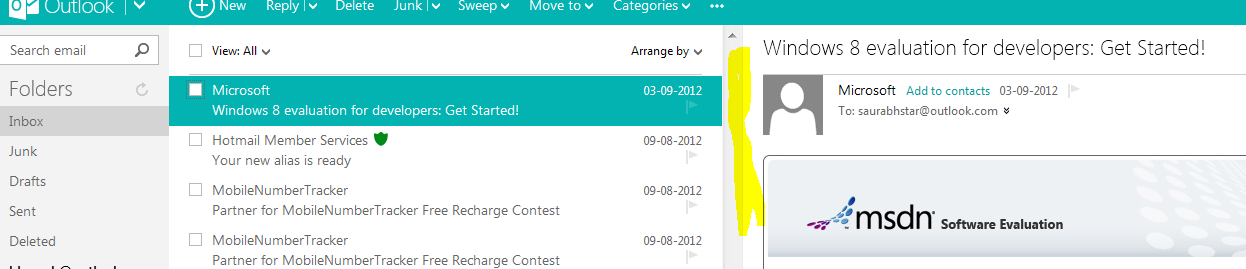
- You can also drag the separator between inbox and reading pane to right or left to adjust the width or top-bottom to adjust the height of reading pane as you find more useful. The yellow-highlighted portion in the picture below is the separator from which you can adjust the reading pane size.

If you do not like the reading pane, you can always disable it by going upto step 4 and selecting Off . Subscribe to our blog and like us on facebook to get updated with many more tips and tricks upcoming on this website. In earlier posts, we’ve also discussed on how to create many email accounts easily with just 1 account, and other useful outlook tips. If you’re a gmail user and want to enable similar feature in gmail, checkout gmail reading pane guide.

One comment