Ever watched a 3D printer in action and felt like you were witnessing a tiny bit of sorcery? That feeling of objects materializing, seemingly from nowhere? You’re not alone. While it might look like ‘tech magic,’ it’s actually a fascinating process of ‘stacking science, slice by slice.’ Forget the smoke and mirrors; let’s demystify how these incredible machines bring your digital dreams into the tangible world.
Think of it, as our quick explainer puts it, like an incredibly intelligent and precise hot glue gun. But instead of just sticking things together, it’s meticulously constructing something entirely new from the ground up. It takes a digital blueprint and, layer by minuscule layer, turns it into a physical object you can hold in your hand. If your curiosity is piqued, you’re in the right place!
Before we dive deep, want a super-speedy visual summary? Our YouTube Short captures the essence in under 60 seconds. Check it out!
Table of Contents
The Core Concept: Additive Manufacturing Unveiled
At its heart, 3D printing is a form of additive manufacturing. This might sound like a mouthful, but the concept is straightforward. Imagine building a sculpture by adding clay bit by bit, rather than carving it from a large block. That’s essentially what additive manufacturing does. It builds objects by adding material layer upon layer, based on a digital design.
This is in stark contrast to traditional subtractive manufacturing methods, where material is removed from a larger piece (think carving wood or milling metal) to achieve the desired shape. Additive manufacturing, therefore, can often lead to less material waste and allows for the creation of incredibly complex geometries that would be difficult or impossible with subtractive techniques.
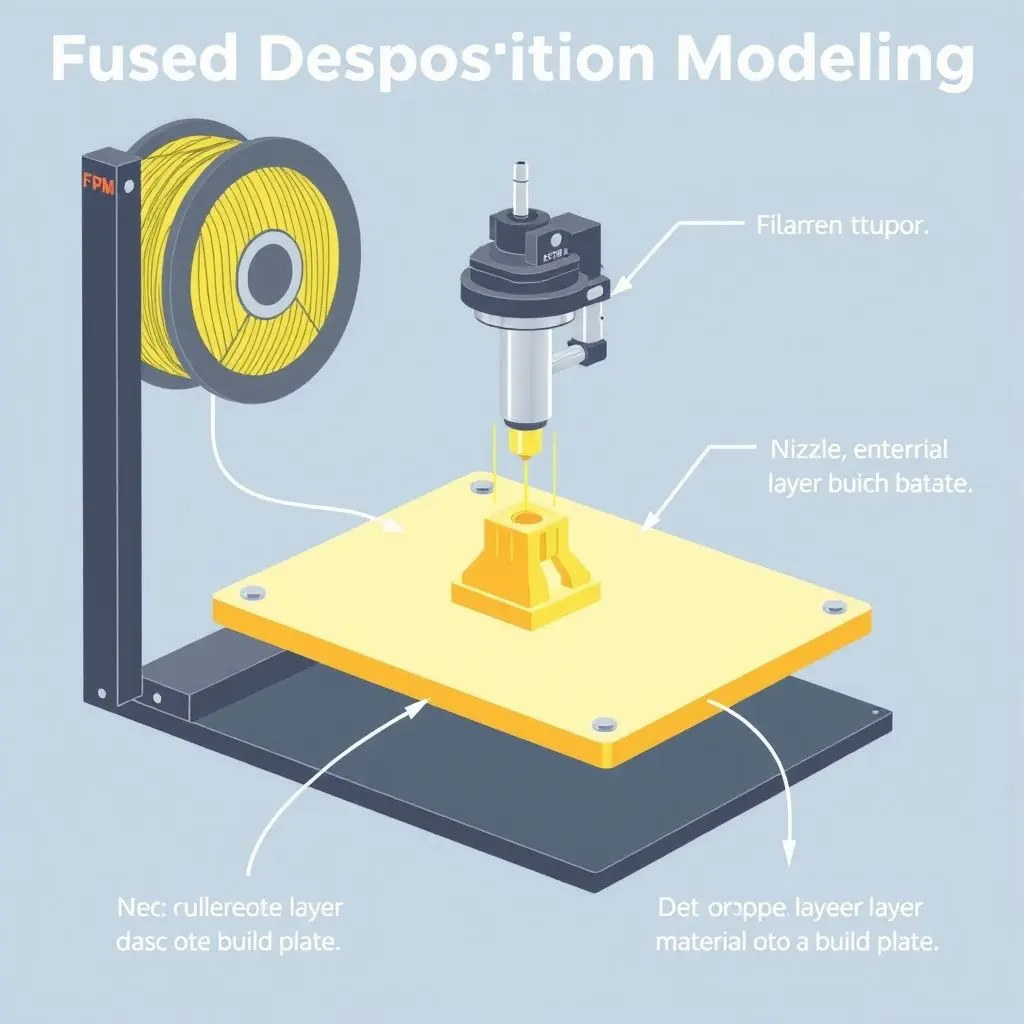
Zooming In: How Most Desktop 3D Printers Work – Fused Deposition Modeling (FDM)
While there are several types of 3D printing technologies, the one you’re most likely to encounter, especially with desktop printers, is called Fused Deposition Modeling (FDM), sometimes also referred to as Fused Filament Fabrication (FFF). This is the technology that typically uses those spools of plastic string (filament) you see.
Let’s break down the FDM process step-by-step:
Step 1: The Digital Design – Your Idea Takes Shape
Everything starts with a 3D model. This is a digital blueprint of the object you want to create. You can design your own model using Computer-Aided Design (CAD) software (like Tinkercad, Fusion 360, or Blender), or you can download pre-made models from a vast number of online repositories (such as Thingiverse, MyMiniFactory, or Printables).
These models are typically saved in file formats like STL (Stereolithography) or OBJ, which describe the surface geometry of a 3D object.
Step 2: Slicing – Preparing the Blueprint for Printing
Once you have your 3D model, it can’t just be sent directly to the printer. It needs to be translated into a language the printer understands. This is where slicing software (or a ‘slicer’) comes in. Popular slicers include Ultimaker Cura, PrusaSlicer, and Simplify3D.
The slicer does exactly what its name suggests: it ‘slices’ the 3D model into hundreds or even thousands of thin, horizontal layers. It then generates a file, usually in a format called G-code, which contains the specific instructions for the 3D printer. These instructions tell the printer everything it needs to know: where to move the print head, how fast to move, how much material to extrude, the temperature of the nozzle and build plate, and much more for each individual layer.
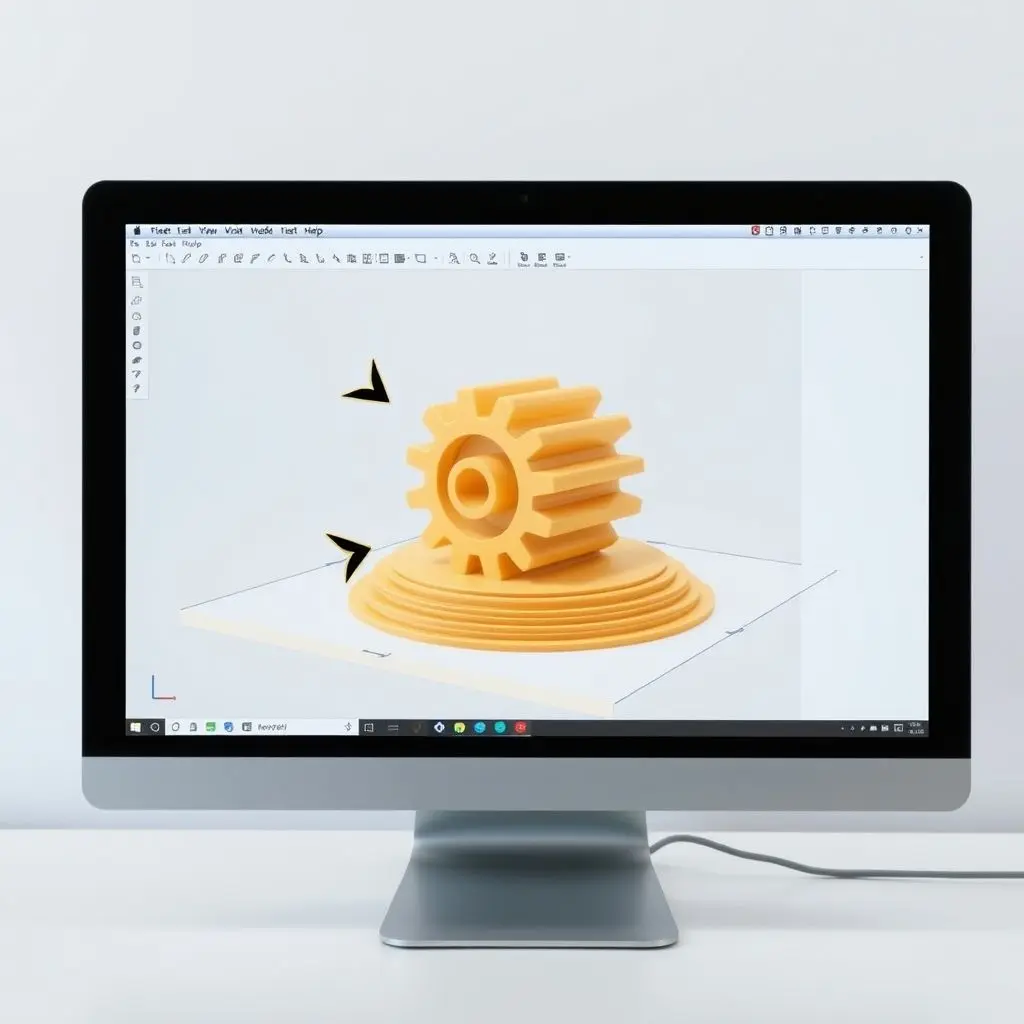
During slicing, you can also adjust various parameters like layer height (thinner layers mean higher resolution but longer print times), infill density (how solid or hollow the inside of the object will be), print speed, and support structures (for overhanging parts of the model).
Step 3: Loading the Material – The Filament
The ‘ink’ for FDM printers is a thermoplastic filament. This is a plastic string, typically 1.75mm or 2.85mm in diameter, wound onto a spool. Common filament materials include:
- PLA (Polylactic Acid): Easy to print, biodegradable, and comes in many colors. Great for beginners.
- ABS (Acrylonitrile Butadiene Styrene): Stronger and more heat-resistant than PLA, but trickier to print (often requires a heated bed and enclosure).
- PETG (Polyethylene Terephthalate Glycol): A good balance of PLA’s ease of printing and ABS’s strength and durability. Often food-safe (check manufacturer specifics).
- TPU (Thermoplastic Polyurethane): Flexible, rubber-like material.
The filament spool is mounted onto the printer, and the end of the filament is fed into the printer’s extruder mechanism.
Step 4: The Extruder and Hotend – Melting and Depositing
The extruder is the heart of an FDM printer. It consists of a ‘cold end’ and a ‘hot end’.
- Cold End: This part has a motor and a gear mechanism that grips the filament and pushes it towards the hot end.
- Hot End: This is where the action happens. It contains a heating element (heater cartridge) that melts the filament to a precise temperature, and a nozzle – a small, pointed metal tip with a tiny hole (typically 0.2mm to 0.8mm in diameter).
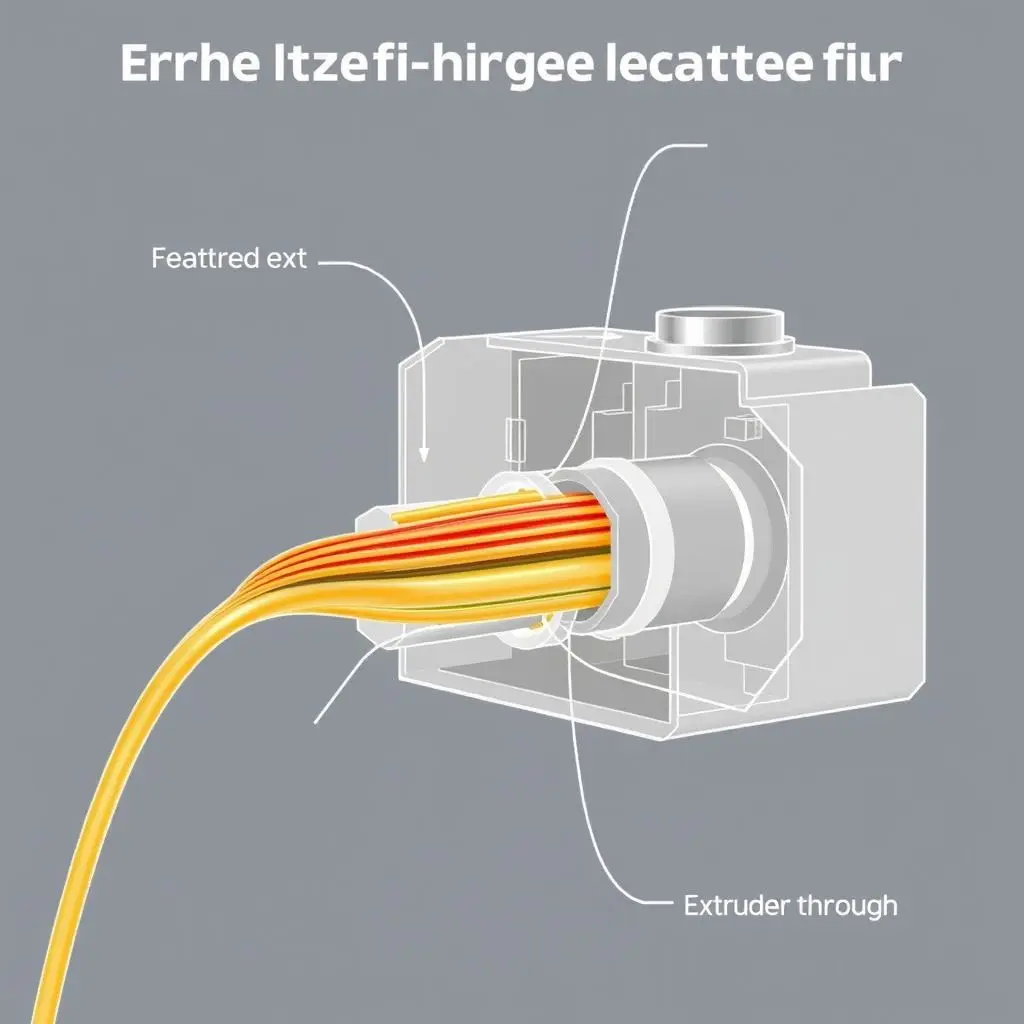
As the molten plastic is pushed through the nozzle, it’s deposited onto the build platform (or the previous layer).
Step 5: Building Layer by Meticulous Layer
Now, the G-code instructions come into play. The printer’s print head, which holds the extruder and hotend, moves along the X (left-right) and Y (front-back) axes, precisely drawing the shape of the first layer with the molten filament onto the build platform (or print bed). Many printers have heated build platforms to help the first layer stick properly (adhesion) and prevent warping as the plastic cools.
Once the first layer is complete, the build platform either moves down slightly (or the print head moves up) by the exact layer height specified in the slicer settings. The printer then proceeds to deposit the second layer on top of the first. This process repeats, layer by painstaking layer, with the molten plastic fusing to the layer below it as it cools and solidifies.
If the model has overhangs or bridges (parts that extend out into open space), the slicer software might have instructed the printer to build temporary support structures. These are also printed layer by layer and can be removed after the print is finished.
Step 6: The Grand Reveal – Your Object is Born!
After what can be minutes, hours, or even days (for very large or complex prints), the final layer is deposited. The printer finishes its G-code instructions, the hotend and build plate (if heated) begin to cool down. Once sufficiently cooled, the 3D printed object can be carefully removed from the build platform.
Often, some post-processing might be needed. This can include:
- Removing support structures.
- Sanding or smoothing the surface.
- Painting or applying other finishes.
- Assembling multiple printed parts.
And there you have it – your digital design transformed into a physical reality!
Beyond FDM: A Peek at Other 3D Printing Realms
While FDM is incredibly popular, it’s not the only 3D printing technology. Here are a couple of other common ones:
- Stereolithography (SLA): This method uses a vat of liquid photopolymer resin. A UV laser or projector selectively cures and solidifies the resin layer by layer, building the object. SLA printers are known for producing highly detailed and smooth prints.
- Selective Laser Sintering (SLS): SLS printers use a high-powered laser to fuse or sinter powdered material (like nylon, plastics, or even metals) together, layer by layer, within a build chamber. SLS is great for strong, functional parts and complex geometries as the surrounding powder supports the object during printing, often eliminating the need for dedicated support structures.
Each technology has its own strengths, weaknesses, materials, and applications, but the fundamental principle of building layer by layer remains.
Why This “Tech Magic” is Truly Transformative
The ability to turn digital files into physical objects with such precision and increasing accessibility is revolutionizing industries and empowering individuals:
- Rapid Prototyping: Designers and engineers can quickly create physical prototypes of their ideas, test them, and iterate much faster than traditional methods.
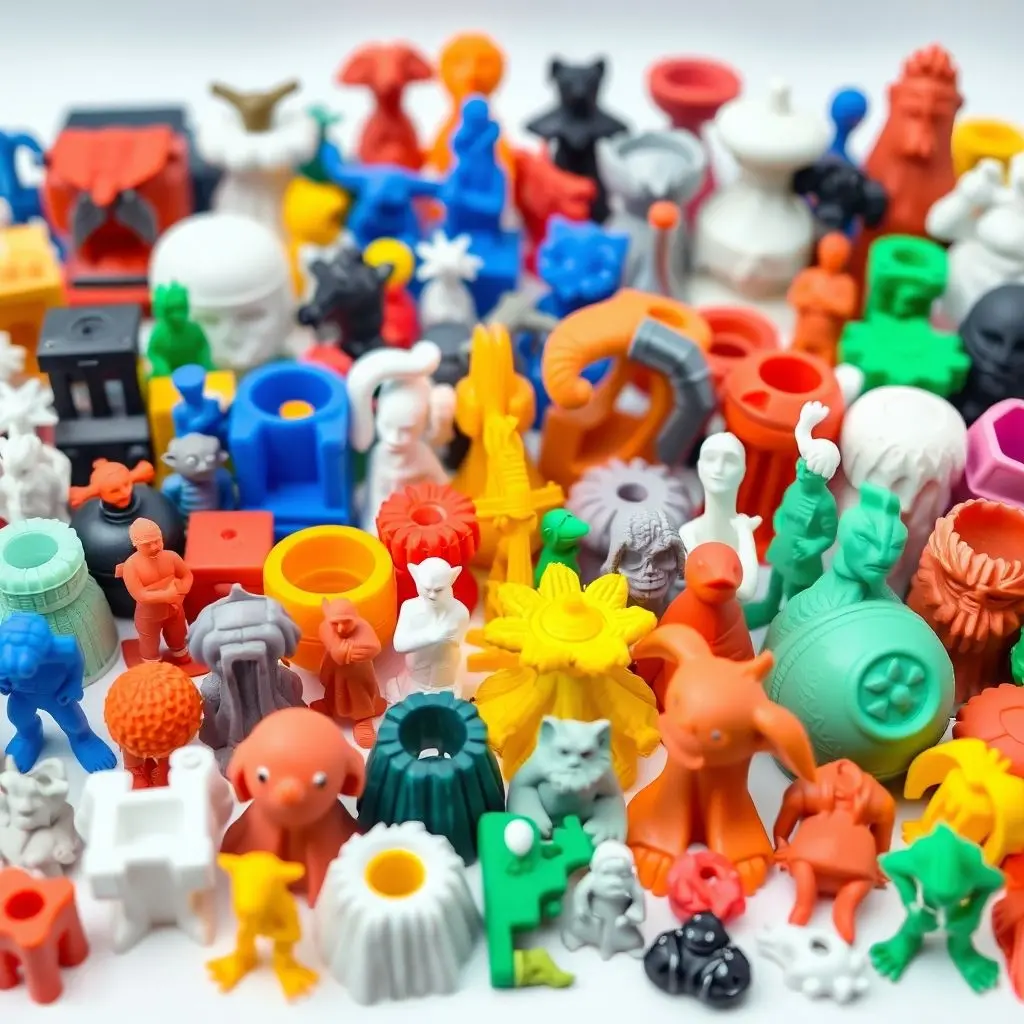
- Customization and Personalization: From custom medical implants and dental aligners to personalized phone cases and jewelry, 3D printing allows for unique, one-off creations tailored to individual needs.
- On-Demand Manufacturing: Companies can print parts as needed, reducing inventory costs and enabling distributed manufacturing.
- Education and Hobbyists: It’s a powerful tool for learning, creativity, and innovation, accessible to schools, makerspaces, and individuals at home.
- Complex Geometries: 3D printing can create intricate shapes and internal structures that are impossible to produce with other manufacturing methods.
Frequently Asked Questions (FAQs)
Q1: What materials can 3D printers use?
A: It depends on the 3D printing technology. FDM printers commonly use thermoplastics like PLA, ABS, PETG, TPU, and Nylon. SLA printers use photopolymer resins. SLS printers can use powdered plastics, metals, ceramics, and glass.
Q2: How long does it take to 3D print something?
A: Print time varies greatly depending on the size and complexity of the object, the layer height, infill density, print speed, and the specific printer technology. Small, simple objects might take 30 minutes to an hour, while large, complex prints can take many hours or even days.
Q3: Is 3D printing expensive?
A: The cost has come down significantly. Hobbyist FDM printers can be purchased for a few hundred dollars. Materials like PLA filament are also relatively affordable. Industrial-grade printers and specialized materials can be much more expensive. The cost of a single print depends on material usage and print time.
Q4: What are the main types of 3D printing?
A: The main categories include Fused Deposition Modeling (FDM/FFF), Stereolithography (SLA), Digital Light Processing (DLP – similar to SLA), Selective Laser Sintering (SLS), Direct Metal Laser Sintering (DMLS), and Multi Jet Fusion (MJF), among others. Each uses different materials and processes.
Q5: Do I need to be a CAD expert to 3D print?
A: Not necessarily! While designing your own models requires CAD skills (which can be learned), there are millions of free and paid 3D models available online that you can download and print directly.
Conclusion: From Digital Dreams to Tangible Reality
So, the next time you see a 3D printer whirring away, you’ll know it’s not just ‘conjuring stuff out of thin air.’ It’s a sophisticated dance of software, hardware, and material science, meticulously building an object one precise layer at a time. It’s a testament to human ingenuity, transforming our digital blueprints into real, holdable objects, truly stacking science slice by slice. The world of 3D printing is constantly evolving, and its potential seems virtually limitless. What will you create?
Disclaimer: The capabilities and specific processes of 3D printers can vary significantly between models and technologies. Always refer to your specific printer’s documentation for accurate information.
Related posts:
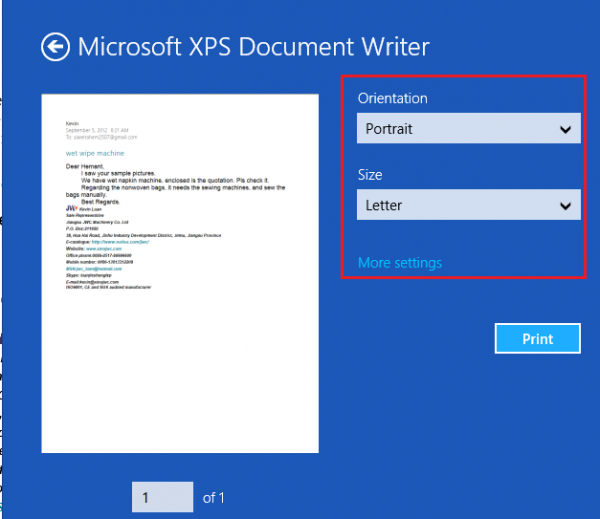 Windows 8 MXDW oxps to xps format converter software for windows 7
 Download Windows 10 Latest Build Free Technical Preview ISO File (Official Link)
 How Does Facial Recognition Work? Unmasking the Tech Behind the Glance
 Top 25 New Features of Android 4.4 KitKat OS – What’s New
 How to Flash Official Jelly Bean update on Galaxy S2 I9100G