We might use a particular email address for one purpose, another email for a different purpose. For subscribing to several websites and blogs, we might want to use a different email address,for personal mails – use another, and for work- use another. But creating multiple email addresses is really a daunting task. You need to fill rigorous forms to complete sign up process. Then you need to log into each account daily to check mails which adds to the trouble. Don’t worry, there are several workarounds to this but the most easy, suitable and perfect solution is from Outlook.com’s new email service.
Email Alias Feature of Outlook allows you to create multiple email addresses with just a few clicks(without the need to create separate accounts and fill up long forms) and all the mails to those newly created addresses will sit inside a separate folders/labels in your main account so managing your mails to several email addresses will also be easy. Note that these are not temporary email, rather these are permanent unlimited emails. Of course, you can delete these email alias and use it for temporary purposes i.e. for registration to a particular website for temporary period. Log into your main account and manage all mails of several email addresses right from there.
How to create multiple email addresses in few seconds
- Create an account on Outlook.com if you don’t have one already.
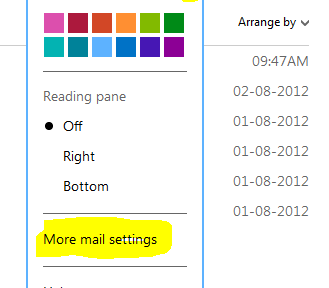
- Click on settings icon located on the top right side and then hit on More Mail Settings as shown in the image below.

- Under the Heading- Managing Your Account, Chose ‘Create a Outlook alias’. See image below

- Now Enter the desired email address you want to create and hit on Create Alias button. If the name is unavailable, you have to enter different name there and try again. If the name is available, it will display a dialog box saying – Great, We’re Setting up Your New Alias. It will display you two radio button which allows you to set where the email to the newly created address reside. Just leave it as default and click on Done button.That’s it. All the email to the new address will now be kept under the new folder in your account. The new folder will be displayed next to inbox label in the left pane in your outlook account. See the image below.

- You’ll also receive an email notification stating that your new alias is ready.
- To check emails received on your new alias, just click on the alias name folder situated in the left side below all other labels like inbox, Junk, drafts, etc.
- To send mails from your email alias, just hit on New button located on the top and then chose another email alias just above ‘To’ field where your email address is displayed.
Note: You need to sign into your main account with your primary email address to check email alias or perform any operations related to email alias. You can delete email alias anytime you want by visiting mail settings and then to the email alias. You can also send emails from email alias following the steps mentioned in the last point above beside receiving mails.
One comment